Easy Way to Make Your Own Compost


Composting can seem like a mystery. Some people throw everything in a pile and let it break down, and, on the other spectrum, some folks get very technical with ratios, temperature and timing. In this post, I am going to show you a simple system for composting that makes it easy and doable, yet dependable so you are not waiting until "one day" when it is all finished!
Composting doesn't have to be intimidating, or take a lot of time, and can be done with minimal effort. With a few basic steps, you can make enough compost for all your gardening needs right in your own backyard.
A Text Transcript for the Podcast is included at the end of this post.
When it comes to composting, you can get really technical (especially when getting into thermal-composting, which ends up killing off weed seeds and breaks down herbicides and pesticides). But to get started making compost at home you only need a little clear direction and a few basic supplies.
Watch the video and read the steps below and you'll be well on your way to making your own homemade quality compost! We've also updated this post with an additional video (it's a Pantry Chat, so keep scrolling to see that below), plus a podcast episode so you can listen at your convenience.
What is Composting?
If you have been with us as we were garden planning for serious food production, choosing no-till gardening and the lasagna gardening method, building raised garden beds, learning how to keep weeds out of the garden, or preparing the garden for winter, you know how serious we are about the importance of building healthy soil, and compost is the key.
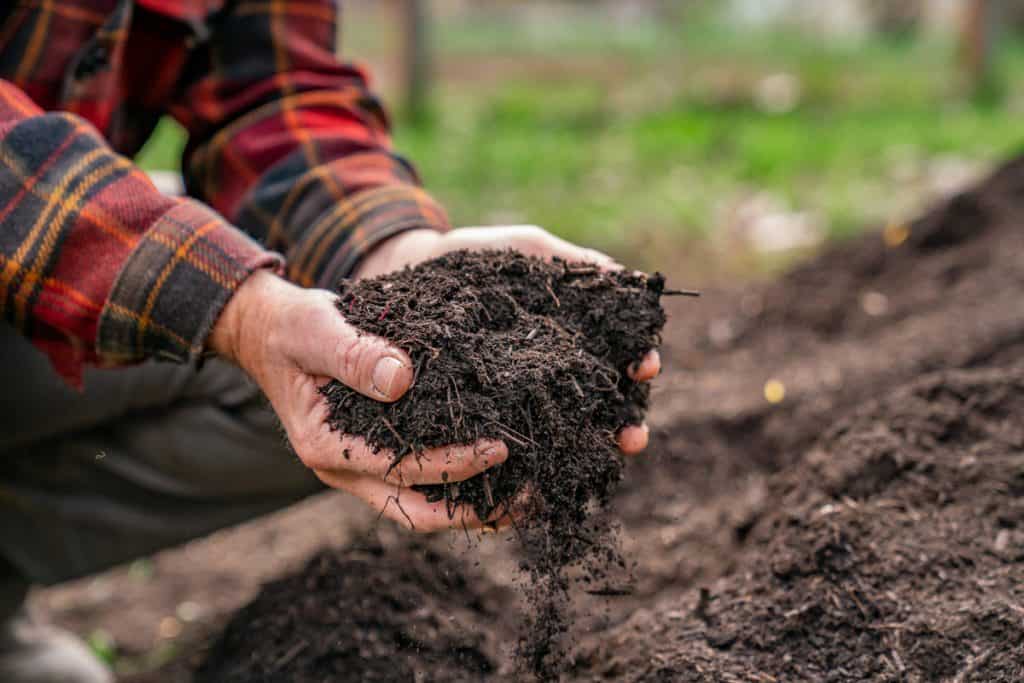
Composting is a simple process of taking carbon based materials and mixing them with nitrogen based materials in the right ratios, and adding water and oxygen, which all encourages the microbial critters to break it all down into a nutrient-dense product that will build soil and enrich your garden and veggies.
What are the Benefits of Composting?
Composting adds organic matter to your soil, which is lacking in most soils you are going to encounter, and which break down and get used up regularly in a vegetable garden.
Adding compost also adds to your soil's ability to store water and oxygen, essential to all of the biological life that lives in your soil. That microscopic life breaks down nutrients and minerals, making them available to your plants.
Without organic matter, water, oxygen, minerals and the soil critters (that's what's in compost) your plants will be weak, nutrient deficient and more susceptible to disease… and so will you if you are living off of that garden!

Materials needed
- Frame – You'll need a structure to contain your compost unless you go with a free-standing pile, which also works just fine:
- Wire Fencing – I chose wire fencing as opposed to pallets because the wire allows for better airflow. Any material that falls out of the openings can easily be raked up and added back to the pile.
- Pallets – Pallets are also a good choice, but require a bit more effort.
- Free Standing – While fencing or pallets help contain your compost pile and keep the large critters out, if you don't have these you can just make a free-standing pile as well.
- Carbon Materials – Examples of carbon materials ("browns") are wood chips, leaves, sawdust, cardboard, straw, and other "woody" organic materials. If you find that you don't have quite enough brown material to get started, you can check with cabinet shops for sawdust and wood shavings, get and shred cardboard from the box stores, or ask neighbors for leaves from their yard.
- Nitrogen Materials – Examples of nitrogen materials ("greens") are animal manure (and urine), kitchen waste, lawn clippings, or anything that has been harvested in its live or green state.
- A Little Finished Compost – You can purchase finished compost from your local nursery, or from a fellow gardener who also has a compost pile.
- Water – A hose with a sprayer is nice.
- Compost Thermometer – A compost thermometer is probably the most necessary piece of equipment you will need to gauge the temperature so you know when it's time to turn the compost.
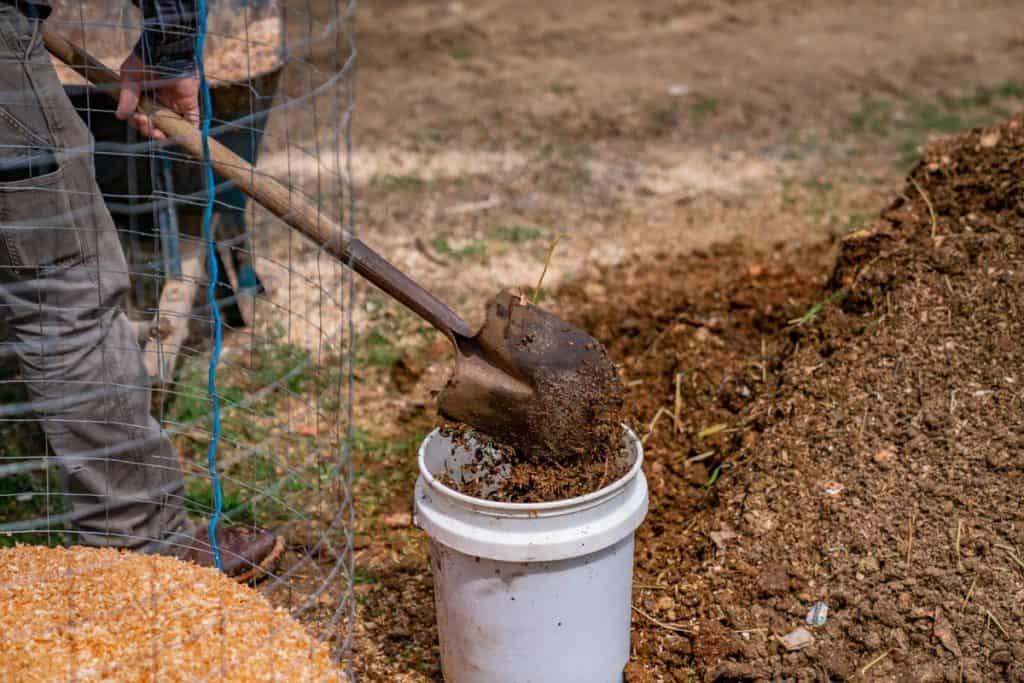
- Shovel – for scooping materials into your bucket.
- Pitch Fork – great for turning your compost and breaking up any large clumps.
- 5-Gallon Bucket – (optional, but nice to have, too!)
Building Your Compost Pile
If you choose fencing or pallets to secure your pile, you will need to assemble them to be at least 3' in diameter (3' square for pallets), and 3' tall. This minimum volume is really best to allow the heat and activity to get going.
Anything smaller than this will result in weak activity, and can take much longer to cultivate success.
By volume, you are going to need about 2 parts of brown materials for every 1 part of greens. Measurement does not have to be perfect, just strive to get as close as possible.
To help accurately measure, I like to use a 5 gallon bucket, so for every two buckets of "brown" material, I use one bucket of "green" material. You could also do it by the shovel full. 2 scoops browns and 1 scoop green.
Before you begin, break up the brown and green materials as small as possible. This will increase the surface area, and activate the pile faster, ultimately resulting in a quicker more evenly finished compost.
Step By Step Directions
- Begin with a brown layer. If your brown layer is dry, and it usually will be, add some water. You don't want to add so much water that it is pooling up or running off the pile, just enough to make it moist.
- Sprinkle finished compost over the brown layer. This will increase the microbial activity, and get the composting started faster.
- Add a green layer, and as you add each layer, remember to spread it out evenly so that you maximize as much surface area as possible.
- Repeat with layering and watering until your pile is at least 3′ high.
- After your compost pile is full, reach in, grab a fist full and squeeze. If you can barely get a drop or two of water out, you did great! If not, add more water slowly, letting it soak in. Stop when water begins to drain out the sides or bottom.
- Place the thermometer in the center of the pile inserted from the side. Within 3-5 days, you should see the temperature begin to rise. When it has reached 100-120 degrees, it's time to turn your compost (see more info on maintaining your pile below).

As far as building your compost pile, that's it! It's really simple to get started. Now you can push that thermometer into the center of your pile and let the "little guys" start to multiply and do their magic!
Ideal Temperature
The ideal temperature of your compost pile should be between 100-140 degrees (or for thermal composting between 140-160 degrees F). I like to aim for the "sweet spot" of 120 degrees F.

Maintaining Your Compost
For the best results of your compost, you'll want to maintain the temperature and retain moisture (not too wet, and not too dry).
Each time you turn your pile (more on this below), be sure to check how moist your compost is. You should just be able to barely squeeze out one drop of water from a fistful of compost.
If you happen to neglect your compost pile for more than a month or so, give it a turn and add water if needed, then watch the temperature to see if it climbs back up to the ideal zone.
If you've neglected it for too long, you'll likely need to re-charge your pile by turning it, adding some water, and then adding in some more nitrogenous materials.

When to Turn Your Compost
Your pile should take about two to four days to come up to temperature. Once your pile has reached the ideal temperature it's time to turn the pile.
This is when it becomes a bit more customized to your time and commitment. If your pile remains around 120 degrees F, you don't need to turn your pile right away. However, if the pile begins to drop in temperature, you'll want to turn it to keep the activity going.
The more attention you can give it, the faster it will transform into compost. If you're actively turning your compost pile about once every other day, it's possible for you to have a finished compost pile in about 18 days.
This will obviously depend on the size of the materials when you started, your climate, and how much attention you're able to give it.
I'll be back in a couple of weeks with a post on how to know when (and how) to turn your compost pile for best success, but you can also check out this post on how to build a compost sifter that will come in handy later on.

- When and How Often to Turn Compost
- Home Composting (Troubleshooting & FAQ's)
- Back to Eden Gardening with Paul Gautschi
- Making Raised Garden Bed Rows & Super-Charging Your Soil
- How to Build a DIY Hoop-House (Greenhouse)
- How to Use a Vegetable Garden Planner
- Get an Instant Garden by Growing Vertically
- How to Keep Weeds Out of the Garden
- 10 Common Gardening Mistakes to Avoid
Source: https://homesteadingfamily.com/how-to-make-compost-the-easy-way/
0 Response to "Easy Way to Make Your Own Compost"
Post a Comment